Quickstart
Create your project in under 5 minutes
1. Login to your dashboaard
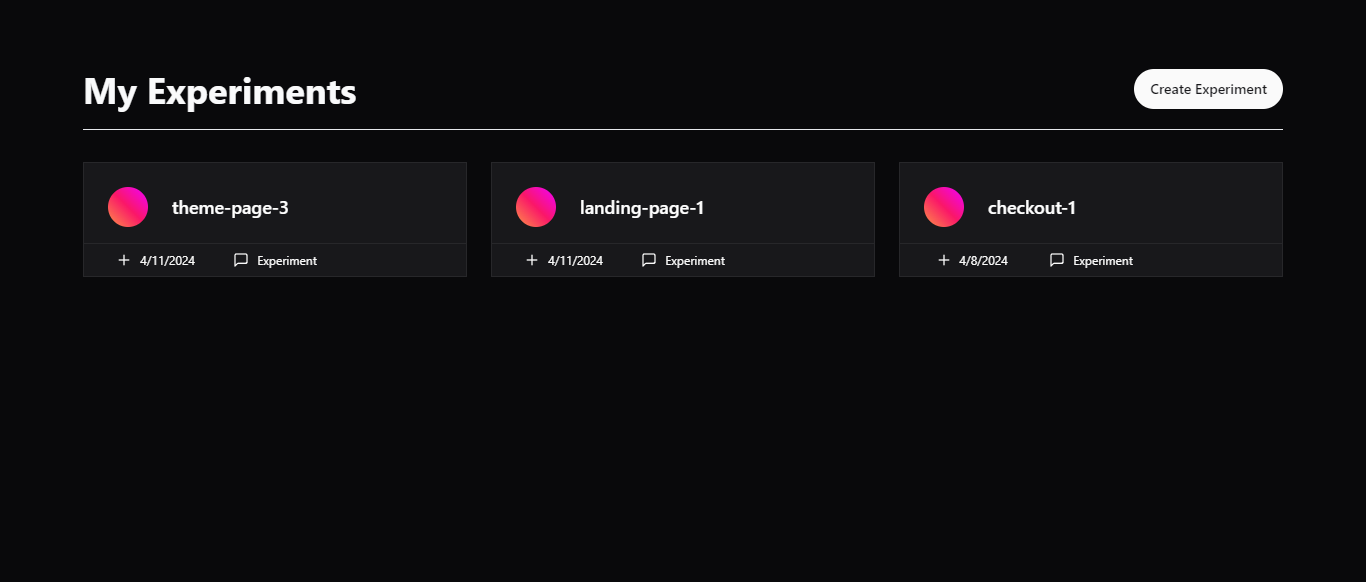
Login to TestNix (opens in a new tab) dashboard using Google, Github or Microsoft.
2. Create Experiment
Once you're logged in, Click the Create Experiment button in the top right corner.

This will open a dialog. Give your Experiment Id and click create. Remember that every experiment name would be different.
3. Installation
Head over to the terminal of your project and install the TestNix package.
npm install testnix4. Create your experiment variants
Now we define which React components we would like to A/B-test. Imagine the following scenarios:
- Changing the layout of your landing page
- Changing the call-to-action in your hero section
- Adding an onboarding flow to your SaaS to increase sales
All of these scenarios and many more can be realized with TestNix. Simply define your variants (i.e. different layouts for your landing page) and add them to your experiment.

Note: The Experiment Id of the <Experiment> component comes from step 2.
import { Experiment, Variant } from 'testnix/server'

export default function Component() {
  return (
    <Experiment experimentId="your experiment Id" experimentHash="your experiment Hash">
      <Variant variantId="experiment-variant-1">
        // any component here
      </Variant>
      <Variant variantId="experiment-variant-2">
        // any component here
      </Variant>
    </Experiment>
  )
}
You are all set 🎉
That's it! You're all set to optimize your website. As you develop locally, you'll notice metrics appearing in your experiment dashboard. Once you've verified everything is working correctly, your setup is complete.